
Bright Smile is a block theme for dental offices, orthodontists and small medical practices. This guide takes you from a fresh install to a finished practice website. You never need to write code: everything is edited in the WordPress block editor.
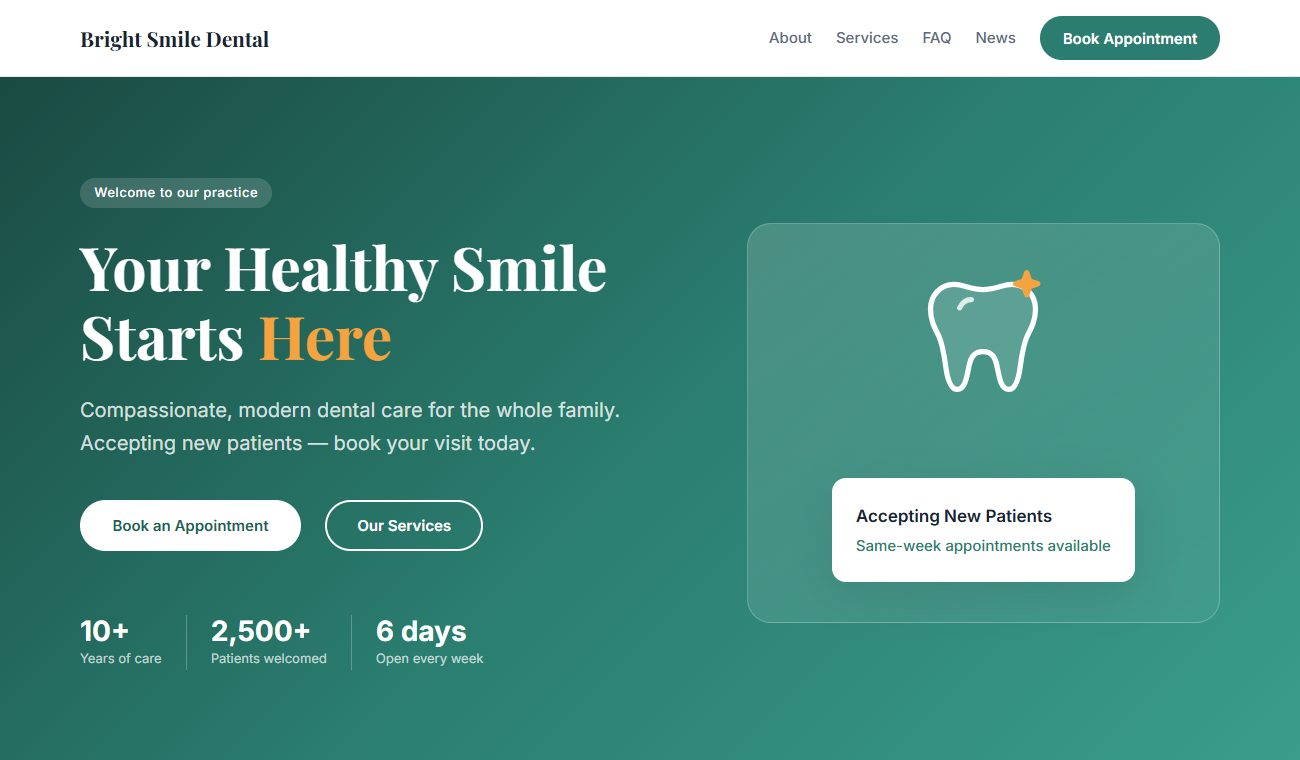
See it live: dental.webintegrate.com
Requirements: WordPress 6.6 or later, PHP 7.4 or later.
1. Install Bright Smile
- In your WordPress dashboard, go to Appearance → Themes → Add Theme.
- Search for Bright Smile, then click Install and Activate.
If you have the theme as a zip file, click Upload Theme on the same screen, choose the file, then Install Now and Activate.
2. Build your home page
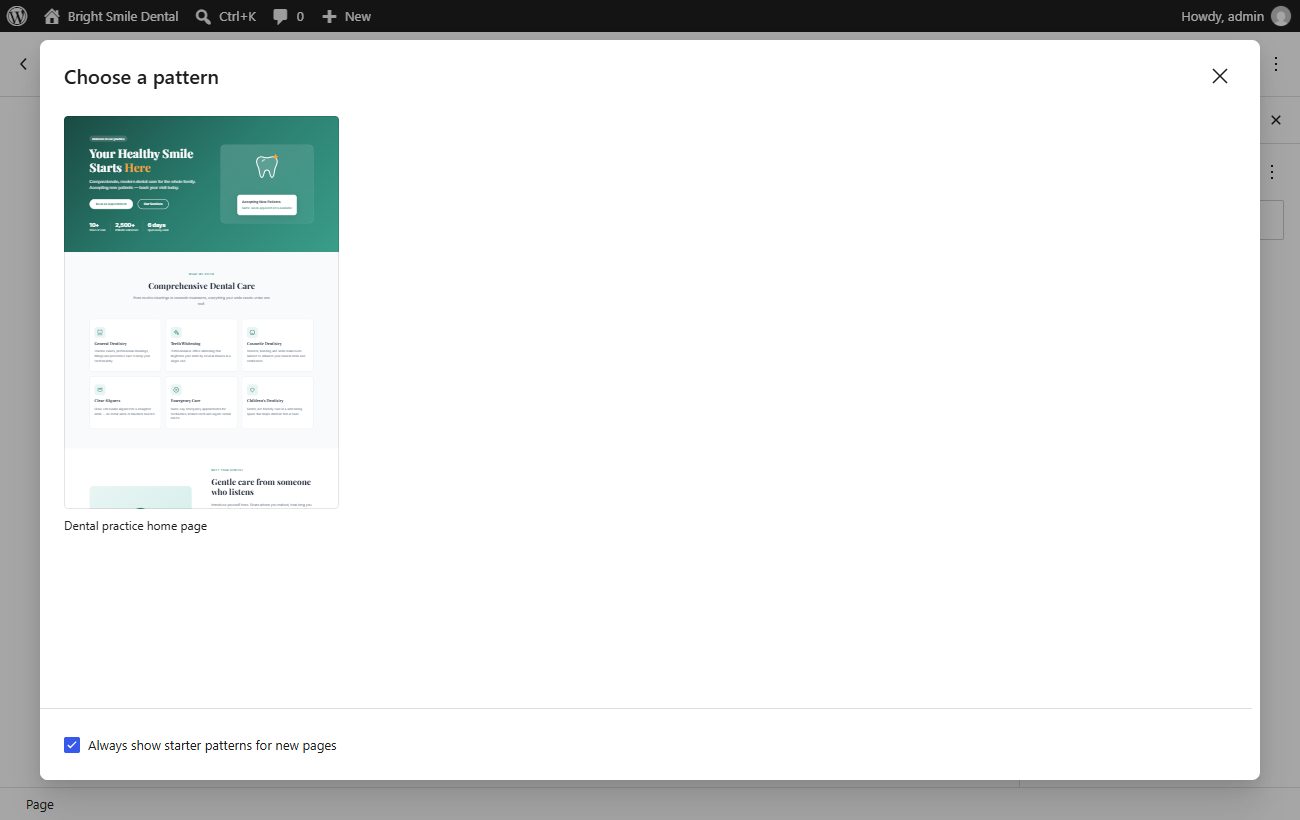
Bright Smile includes a complete practice home page: welcome hero, services, meet the doctor, your first visit, patient reviews, FAQ, appointment booking and latest news. You add it in one click.
- Go to Pages → Add Page and name the page Home.
- A Choose a pattern window opens. Pick Dental practice home page. (If the window does not appear, click + in the top left, open Patterns → Bright Smile: Full pages and insert Dental practice home page.)
- In the right sidebar, open the Page tab. Under Template, choose Wide page (landing). This removes the page title and lets the sections run edge to edge.
- Click Publish.
- Go to Settings → Reading. Under Your homepage displays, choose A static page and select Home as the homepage. Click Save Changes.
Now replace the sample text and photos with your own. Click any text to edit it, and click an image to replace it.
3. Set up the menu bar
The header holds your logo or practice name, the main menu and a Book Appointment button.
Edit the menu: go to Appearance → Editor → Navigation, or click the menu in the header while editing. Add links, drag them into order and rename them.
The home page sections have built-in link targets, so menu links can jump straight to them:
| Section | Link |
|---|---|
| Services | /#services |
| Meet the doctor | /#about |
| FAQ | /#faq |
| Book an appointment | /#appointment |
To add one, click + in the menu, type the link (for example /#services) into the link box and press Enter. Then click the new menu item to rename it.
Menu shows every page? If your menu lists all your pages instead of the links you want, WordPress created it automatically. Open Appearance → Editor → Navigation, delete the page list and add your own links.
Book Appointment button: it jumps to the appointment section. To send patients to your online booking system instead, click the button in the header and change its link.
4. Add your logo and practice name
- Name: go to Settings → General and change Site Title. It appears in the header and footer.
- Logo: go to Appearance → Editor, open the header, click the logo placeholder next to the name and upload your logo.
5. Use the patterns
Patterns are ready-made sections. Insert them on any page: click +, open Patterns and choose Bright Smile: Practice.
| Pattern | What it is |
|---|---|
| Hero – Welcome | Full-width teal banner with a welcome tag, headline, two buttons, practice stats and a floating "accepting new patients" card |
| Services grid | Six service cards with icons in three columns |
| Meet the doctor | Photo with a name plate, a short bio, a checklist of credentials and a button |
| Your first visit (steps) | Three numbered steps that explain what new patients can expect |
| Patient reviews | Three reviews in cards |
| Frequently asked questions | Common patient questions that open and close when clicked |
| Book an appointment | Call-to-action band with office hours, phone number and booking button |
| From the journal | Your three latest posts, updated automatically |
| Dental practice home page | All of the above as one page (under Bright Smile: Full pages) |
6. Edit the practice sections
Welcome hero
Change the headline, the stats (years of care, patients welcomed, days open) and the "Accepting New Patients" card. The Book an Appointment button jumps to the appointment section and Our Services jumps to the services grid, so you usually don't need to change their links.
Services grid
Each card has an icon, a service name and a short description. Click a card's icon to replace it with your own image. To add a service, select a card, click ⋮ in the toolbar and choose Duplicate.
Meet the doctor
Replace the photo, name, title and bio. The credentials are a checklist: press Enter at the end of a line to add a new item.
Your first visit
Edit the three steps to match how your office welcomes new patients.
Patient reviews
Replace the sample reviews with real ones from your patients, with their permission.
Frequently asked questions
Each question is a Details block: the question is always visible and the answer opens when clicked. To add a question, select one, click ⋮ and choose Duplicate, then change both the question and the answer.
Book an appointment
Update the office hours and the text. Two buttons need your details:
- Request an Appointment: click it and paste the link to your online booking system or to a page with an appointment request form.
- Call (555) 123-4567: change the text to your number, then click the button and change its link after
tel:, for exampletel:+17135550142. On phones, tapping it starts a call.
From the journal
This section shows your three latest posts automatically. Write posts under Posts → Add Post for dental tips and office news.
7. Edit the footer
The footer shows your practice name, a short welcome message, office hours and contact details.
- Go to Appearance → Editor → Patterns and click Footer. You can also click the footer while editing any template.
- Click the text to change the hours, address and phone number.
8. Colors, fonts and the Modern Sans style
Go to Appearance → Editor → Styles.
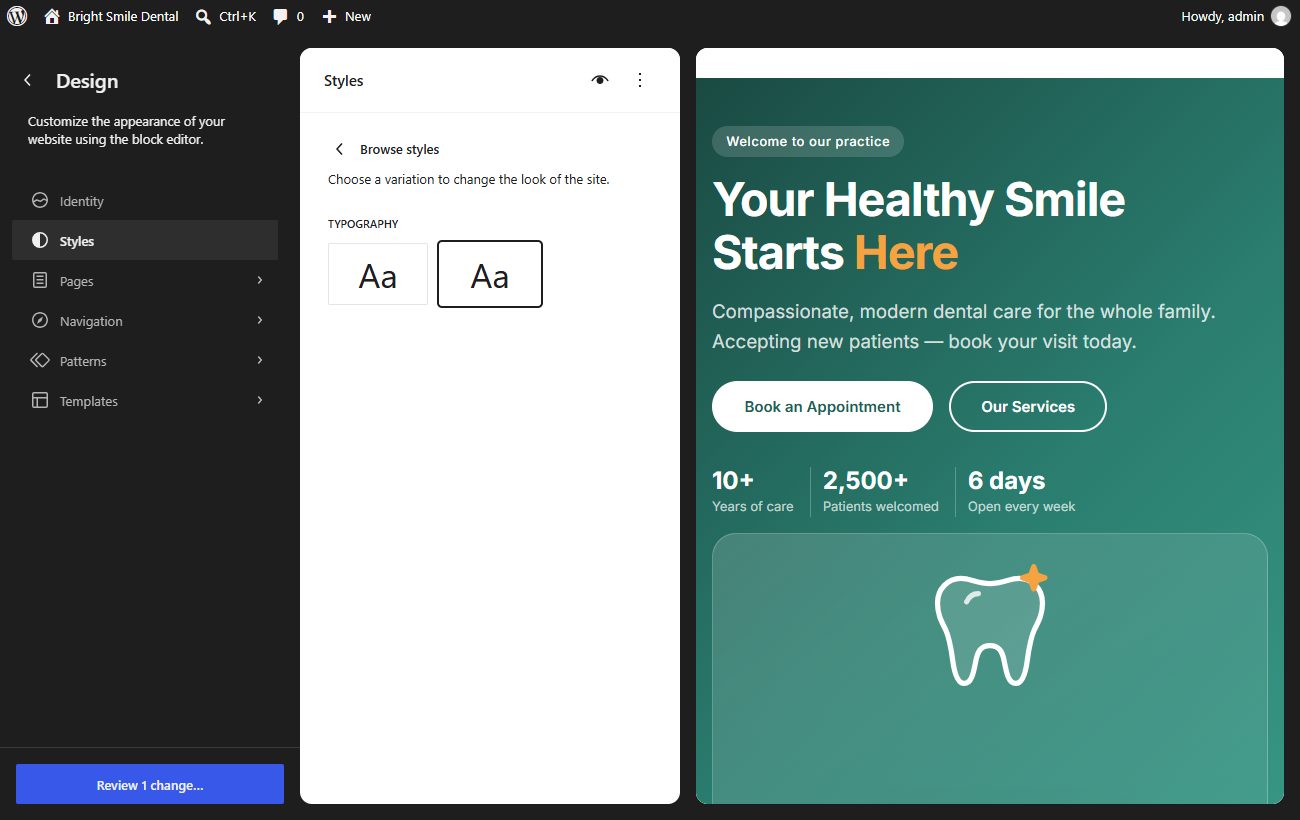
- Modern Sans: click Browse styles. Under Typography, click the second Aa tile to preview headings in a clean, bold sans-serif instead of the elegant serif. To keep it, click Review 1 change… at the bottom left, then Save. To switch back, click the first Aa tile and save again.
- Colors: open Colors → Palette to change any theme color. Every section that uses it updates at once.
- Fonts: open Typography to change the fonts and sizes for text, headings, links and buttons.
The Bright Smile palette
| Color | Hex | Used for |
|---|---|---|
| White | #ffffff |
Page background and cards |
| Mist | #f8fafb |
Soft background for alternating sections |
| Mint | #e8f5f3 |
Icon tiles and checkmark circles |
| Cloud | #e2e8ed |
Borders |
| Slate | #5a6a7a |
Captions and secondary text |
| Teal | #2a7d6f |
Buttons, links and labels |
| Deep Teal | #1f5e54 |
Buttons and links when hovered |
| Amber | #f4a340 |
Review stars and highlights |
| Navy | #1a2332 |
Headings and main text |
Fonts: Playfair Display for headings and Inter for text and buttons. The fonts are included in the theme, so your site does not load them from Google or any other outside service.
Block styles. Bright Smile adds extra looks to some blocks. Select a block and open Styles in the right sidebar to use them:
| Style | Block | Look |
|---|---|---|
| Eyebrow label | Paragraph | Small, spaced-out teal capitals above a heading |
| Pill tag | Paragraph | Text in a rounded pill |
| Card | Group | White card with a border and rounded corners that lifts slightly on hover |
| Glass panel | Group | See-through panel for use on colored backgrounds |
| Floating card | Group | Rounded card with a strong shadow |
| Icon tile | Image | Icon on a soft mint tile |
| Checklist | List | Each item with a teal checkmark |
| FAQ card | Details | Question in a bordered card; the question turns teal when open |
9. Templates
Bright Smile includes templates for every kind of page. Choose a page's template in the Page tab of the editor sidebar. Edit templates under Appearance → Editor → Templates.
| Template | Used for |
|---|---|
| Pages | Standard pages with a title |
| Page without title | Pages where you design the top yourself |
| Wide page (landing) | Full-width landing pages like the home page |
| Blog Home | Your posts page |
| Single Posts | Individual posts |
| All Archives | Category, tag and date archives |
| Search Results | Search results |
| Page: 404 | "Page not found" |
| Index | Fallback for anything without its own template |
Set up a news page: create an empty page called News, then go to Settings → Reading and choose it as the Posts page.
Frequently asked questions
Does Bright Smile include an appointment form?
No. Forms are plugin territory, so Bright Smile keeps appointments as a button. Link it to your online booking system, or add a form block from an appointment or contact form plugin.
Can I collect patient health information on my website?
Be careful. A regular contact or appointment form sends its contents by email, which is usually not a secure way to handle health information. Ask only for what you need to schedule a visit (name, contact details, preferred time), and handle medical details in your practice software or in person. Check the privacy rules that apply to your practice.
Can I use Bright Smile for an orthodontist or another kind of clinic?
Yes. Change the sample text and icons, and remove or reorder any section. Every pattern works on its own.
Is Bright Smile translation-ready?
Yes. All theme text can be translated, and it works with translation plugins.
Where do I get help?
Contact us with your WordPress version, a link to your site and a short description of the issue. Once Bright Smile is listed on WordPress.org, you can also post in its support forum there.